
Homeowners, we’ve all been there. Those pesky dents and holes in the drywall can be an eyesore and a nuisance. But fear not, because East Valley Handyman is here to guide you through the process, making it seamless and stress-free for every homeowner.
Understanding Drywall Damage
Drywall is a staple in modern homes, but it’s not indestructible. Over time, wear and tear can manifest as holes, cracks, or dents. This damage may seem daunting, but with a little understanding, we can tackle the problem effectively.
Most drywall damage is caused by everyday activities—moving furniture, accidental bumps, or even moisture exposure. Recognizing the type of damage you have is the first step in repairing it. By understanding the roots of the issue, we can ensure a longer-lasting fix.
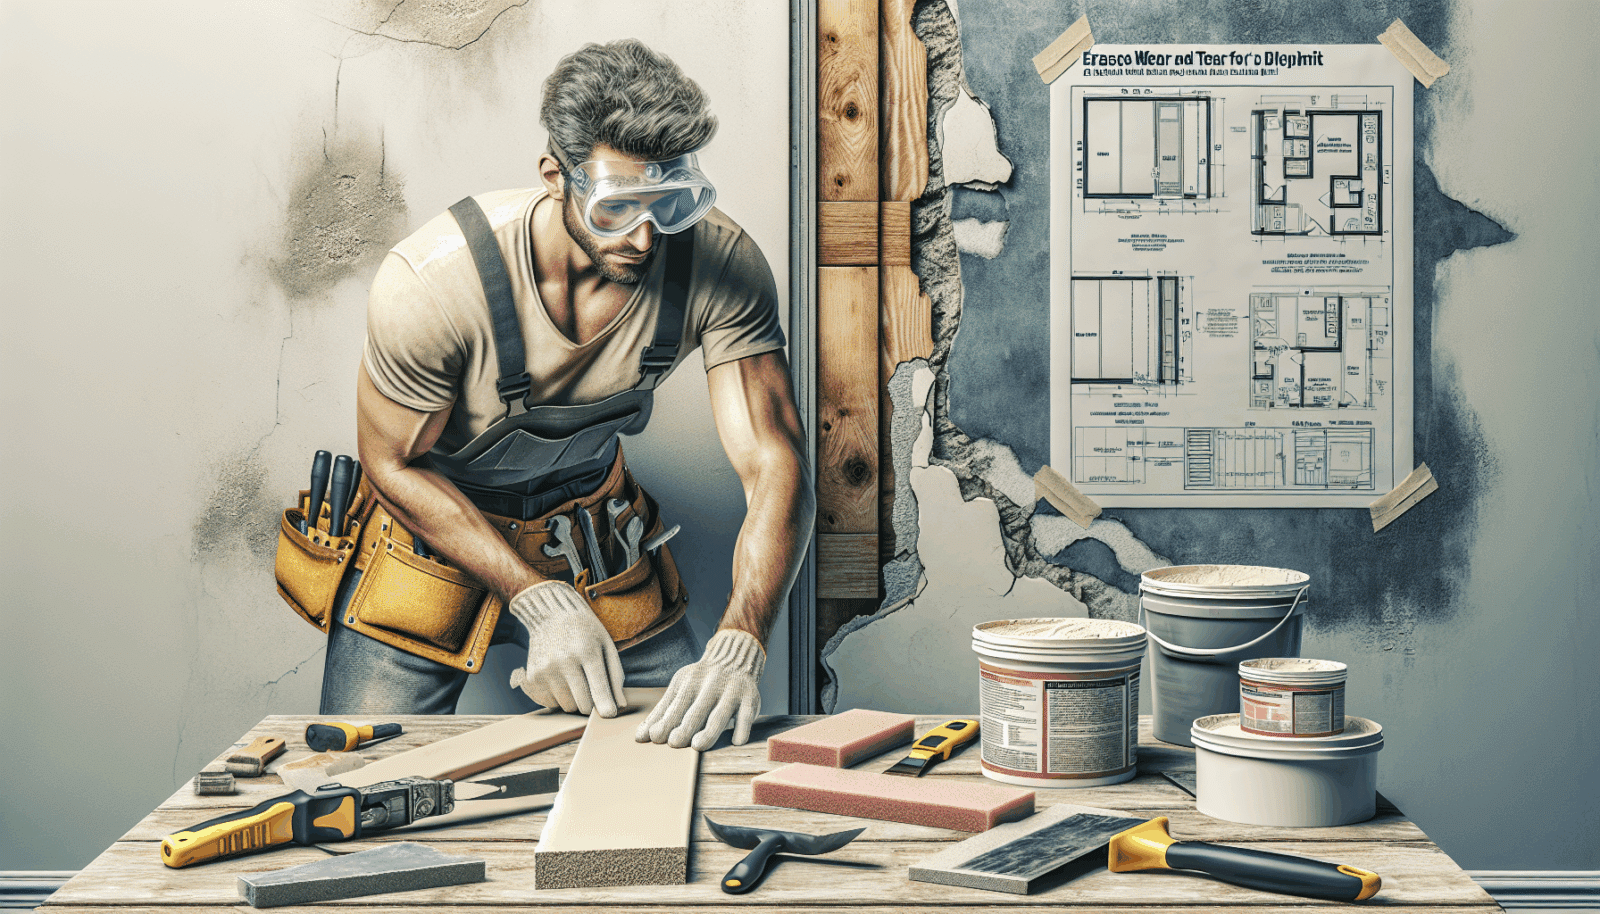
Gathering Your Tools
Before diving into repair, assembling the right tools is crucial. We recommend a few basic items for most drywall repairs. Having these on hand will make your job quicker and easier.
Some essential tools include a putty knife, sandpaper, and joint compound. For larger holes, a drywall saw might be necessary. With these tools ready, you’re prepared to tackle any drywall challenge that comes your way.
Prepping the Area
Preparation is key to a smooth repair process. Start by clearing the area around the damage to avoid clutter and ensure easy access. This might involve moving furniture or covering surfaces to protect them from dust and debris.
Next, ensure the damaged area is clean. Dust and dirt can prevent the joint compound from adhering properly. A clean surface ensures that our repairs will stick and look professional once completed.
Small Dents and Dings
Small dents and dings are common and can be easily fixed. Begin by applying a small amount of joint compound with a putty knife. Spread it evenly, ensuring the dent is completely filled.
Allow the compound to dry completely before sanding it smooth. This ensures a seamless finish that blends with the rest of the wall. Once sanded, a light coat of paint brings the wall back to its former glory.
Fixing Cracks
Cracks in drywall are often due to shifts in your home’s structure or settling over time. To fix a crack, begin by widening it slightly with a utility knife, which allows the joint compound to fill the space more effectively.
After prepping the crack, apply the compound using a putty knife, pressing it into the groove. Once filled, smooth it out and let it dry. A light sanding followed by a coat of paint completes the repair process.
Repairing Medium Holes
Medium-sized holes, like those left by doorknobs, need a bit more attention. First, cut a piece of drywall slightly larger than the hole and shape it to fit.
Use a drywall patch and attach it securely with joint compound. Let it dry thoroughly before sanding. This method creates a sturdy repair that stands up to daily wear.
Dealing with Large Holes
Large holes often require additional support. Begin by cutting away loose or damaged drywall. Then, measure and cut a new piece of drywall to size, securing it in place with screws.
Apply joint tape over the seams to ensure stability, followed by layers of joint compound. After drying, sand and paint the area for a flawless finish. Patience during this process ensures a robust and enduring repair.
The Importance of Sanding
Proper sanding is critical to achieving a seamless look. Once repairs are dry, gentle sanding removes excess compound and any irregularities. This step smooths out the surface, ensuring your patchwork is nearly invisible.
Selecting the right grit of sandpaper is key—start with medium grit and follow with a finer grit for a polished finish. This enhances your wall’s appearance and prepares it flawlessly for painting.
Finishing Touches
After repairing and sanding, it’s time for the final flourish: painting. Select a high-quality paint that matches your wall’s existing color. Apply with care, as even coats make all the difference in achieving a uniform look.
Allow the paint to dry thoroughly, admiring the transformation of your wall. With attention to detail in each step, we ensure a professional finish every time.
Preventative Tips to Avoid Future Damage
- Furniture Placement: Keep furniture a comfortable distance from walls to prevent accidental dents and dings.
- Use of Wall Protectors: Installing wall protectors behind doors can prevent doorknob damage.
- Moisture Control: Ensure your home is well-ventilated to prevent moisture build-up, which can cause drywall to weaken.
- Regular Inspections: Periodically check your walls for signs of damage to address issues before they worsen.
- Quality Paint and Sealants: Use high-quality paints and sealants to protect the drywall from environmental damage.
Reach Out for Professional Help
While DIY repairs can be rewarding, sometimes professional help is the best choice for more significant issues. Our team at East Valley Handyman is always ready to assist with any drywall concerns you may have.
Leveraging our expertise ensures that your home maintains its beauty, and you can rest easy knowing the job was done right. Trust us to bring your walls back to life with precision and care.
Experience the transformation that expert drywall repair can bring. Contact East Valley Handyman at 480-500-6935 or Request a Free Quote today.
