Welcome, homeowners! If you’ve ever found yourself staring at an unsightly hole or dent in your drywall, you’re not alone. These imperfections can be an eyesore, but fear not—I’m here to equip you with the essential knowledge of how to tackle them efficiently. At East Valley Handyman, I specialize in transforming those blemishes into flawless walls using the tried-and-true method of patching, sanding, and painting. This article is crafted specifically for you, focusing on easy and seamless drywall repair techniques that bring out the handyman in you.
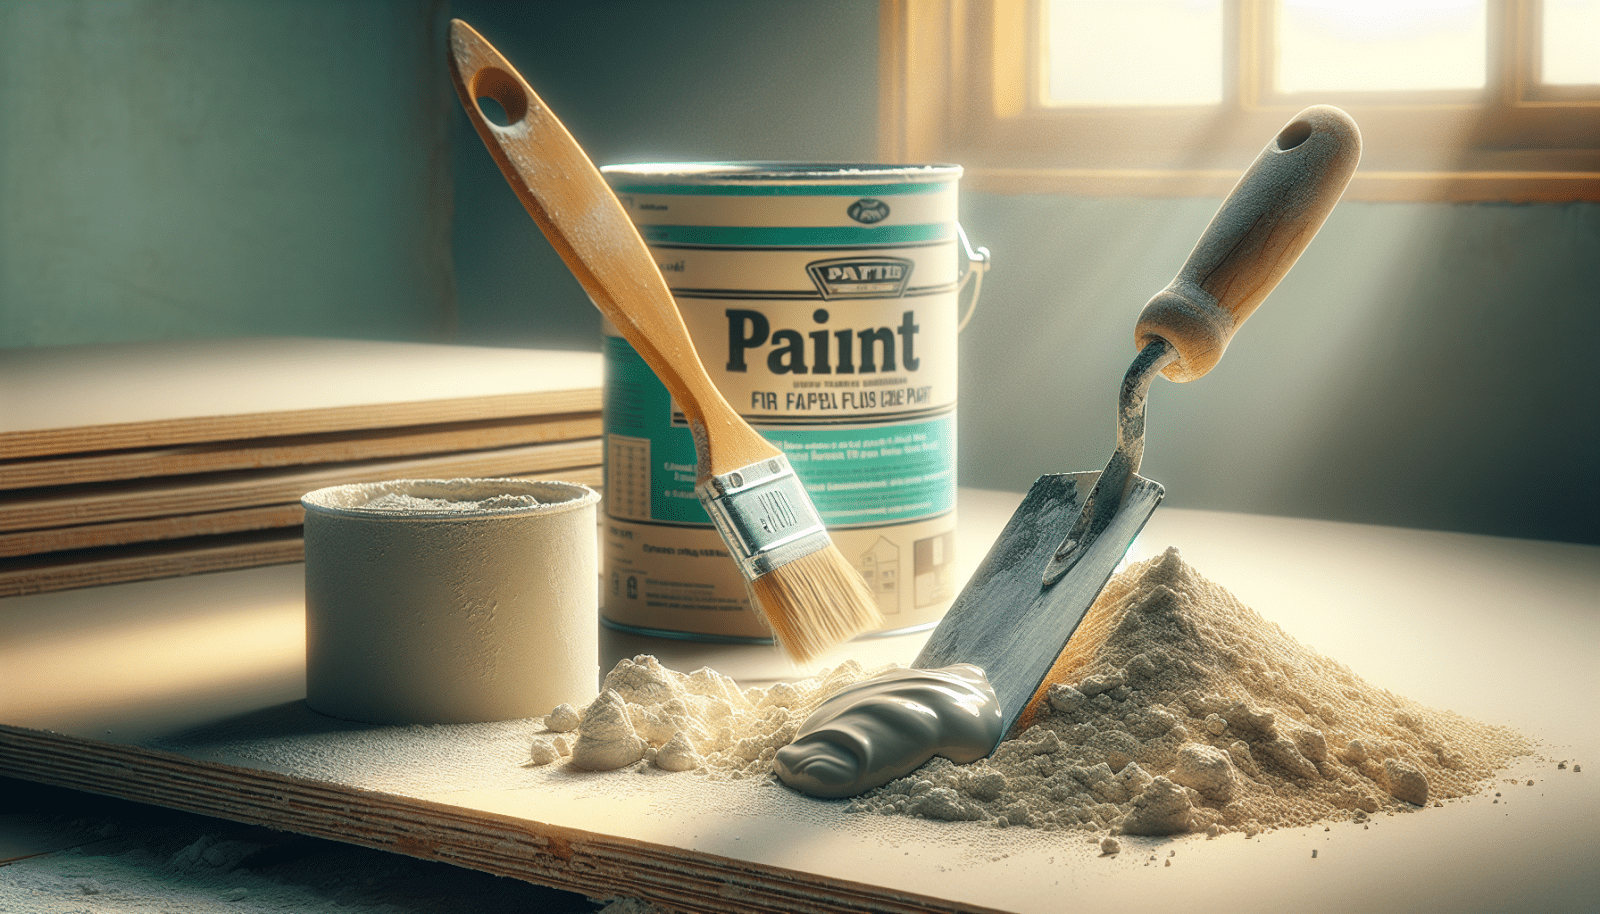
Understanding the Trio of Drywall Repair
Repairing drywall might seem daunting at first, but it’s a straightforward process once you break it down into three key steps: patching, sanding, and painting. Each stage is crucial to achieving a smooth, professional-looking finish. Let me guide you through these steps in a language you can understand.
The key is using the right materials and tools, which will not only help save time but also enhance the quality of your repair. These steps will help you gain confidence in tackling any drywall issues around your home.
Why Holes and Cracks Appear
Before diving into the repair process, it’s essential to understand why these imperfections occur. Drywall is prone to impacts, such as door handles banging into it or nails being driven in too far. These incidents often leave holes or indentations that require attention.
Temperature and humidity changes can also cause drywall to crack. This is because materials expand and contract with weather fluctuations, stressing the drywall structure. By being aware of these causes, you can better prevent future damage.
Step One: Patching the Drywall
The first step in our flawless drywall repair trio is patching. It all starts with assessing the damage and choosing the right patching material. Whether it’s a small hole or a large crack, different techniques will apply.
For tiny holes or cracks, you can often get away with using a simple spackle or joint compound. Larger holes might require a patch kit or even a new piece of drywall. Remember to clean the area thoroughly before applying any materials to ensure the best adherence.
The Art of Sanding
Sanding may seem like a mundane task, but it’s what sets the stage for a seamless finish. After your patching material has dried, you’ll want to sand it down to create a smooth surface that blends with the rest of the drywall.
Using the right grit of sandpaper is crucial. Start with a coarser grit to tackle the bulk of the work, and then move onto a finer grit for that feathered, smooth finish. Take your time with this step; rushing can lead to uneven surfaces.
The Importance of a Quality Paint Finish
Painting is the final, transformative step. It’s where your hard work with patching and sanding truly pays off. Choosing the right paint color and finish can make a significant difference in how seamless your repair looks.
Priming the patched area before painting can help ensure color consistency, especially if you’re working with older walls. After your primer has dried, apply at least two coats of paint for a professional-looking result.
Materials You’ll Need
Embarking on a drywall repair project requires a set of essential tools and materials. Here’s a list to get you started:
- Joint compound or spackle – A must-have for filling holes and cracks effectively.
- Sandpaper (various grits) – Needed for smoothing the surface after patching.
- Drywall patch kit – Useful for larger holes that need more than just spackle.
- Primer and paint – Ensure a lasting and cohesive finish on your repair.
- Putty knife – Essential for applying and smoothing the joint compound.
Time and Patience: Key Ingredients
When it comes to drywall repair, patience is just as critical as skill. Each step, from patching to painting, requires its own time to cure and set before moving onto the next. Rushing through the process can lead to less-than-perfect results.
Set aside adequate time, and don’t hesitate to take breaks as needed. Each detail matters when it comes to achieving a flawless finish, so remember to enjoy the process.
Common Mistakes to Avoid
Repairing drywall, while straightforward, is not without its potential pitfalls. One common mistake is applying the joint compound too thickly, which can lead to uneven surfaces once dry. Instead, aim for multiple thin layers, allowing each coat to dry before applying the next.
Another error is neglecting to sand properly. Uneven sanding can become even more visible after painting, drawing unnecessary attention to the repaired area. Pay close attention to your sanding process for a truly seamless finish.
When to Consider Professional Help
While DIY repair is feasible for many, there are times when it’s best to call in the professionals. Large area damage or water damage might require more expertise than the average homeowner possesses.
Additionally, if you value your time and prefer to leave repair work to skilled hands, reaching out to a professional handyman can save you stress and ensure top-notch results.
Final Thoughts on Drywall Perfection
A little knowledge, the right tools, and some patience can transform your drywall repair skills. At East Valley Handyman, I’m all about making these tasks accessible for every homeowner. For personalized help, I’m just one call away at 480-500-6935, or you can easily Request a Free Quote.