Welcome to East Valley Handyman, your go-to partner for all those pesky drywall issues. Whether it’s a minor crack or a gaping hole, these blemishes can really ruin the vibe of your home. But fear not! With my trusty guide, you’ll learn all the handyman secrets for quick fixes that can transform your space. Dive in to discover how I help homeowners like you regain the beauty of their living spaces.
Recognizing Common Drywall Damages
Before diving into repairs, it’s crucial to identify the type of drywall damage you’re dealing with. From small nail holes to large cracks, each requires a different approach. As a seasoned handyman, I’ve seen it all. Properly identifying the issue is the first step toward an effective solution.
A nail hole might seem insignificant, but ignore it, and it could become an eyesore. Similarly, water damage often signals a bigger problem. The goal is to get to the root of these issues quickly and efficiently. Knowledge is power, and understanding what you’re dealing with will make the fixing process much smoother.
Preparing for the Repair
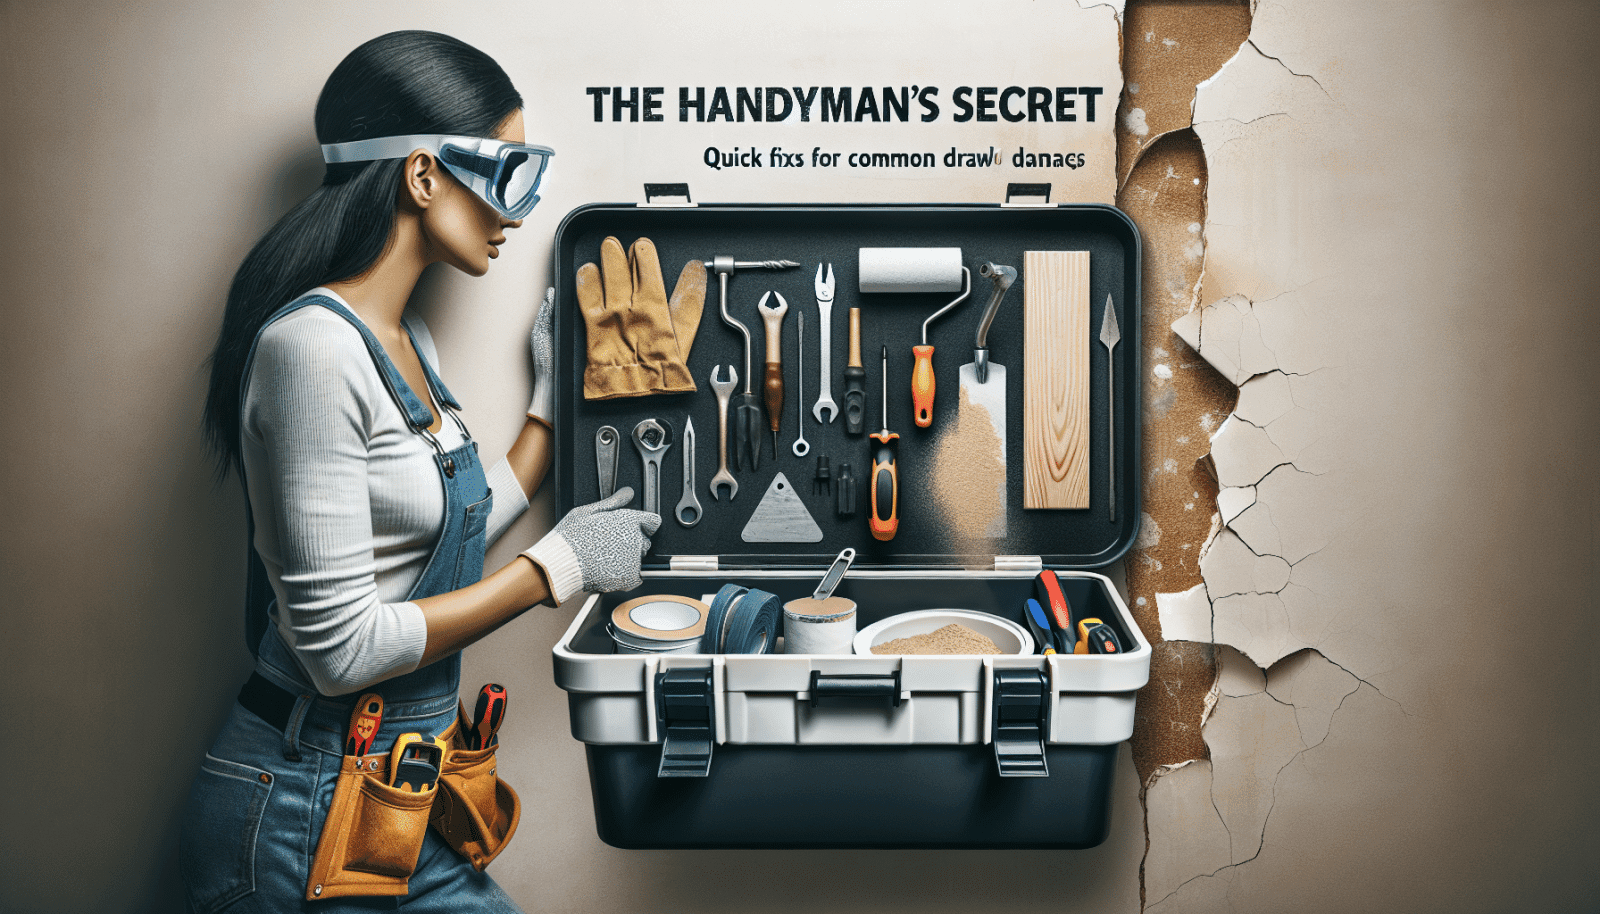
You wouldn’t start painting a masterpiece without gathering your brushes, and drywall work is no different. Preparation is key. When you’re ready to tackle the damage, having the right tools on hand makes all the difference.
First, ensure you have essentials like a utility knife, putty knife, and drywall saw. Don’t forget your drywall tape, joint compound, and sandpaper. These tools will help ensure a seamless finish. By organizing everything in advance, you’ll save time and avoid those frustrating mid-task trips to the store.
The Miracle of Joint Compound
Joint compound, or “mud,” is the magic potion for drywall repairs. It’s incredibly versatile and indispensable in addressing various drywall issues. Applying it correctly can make all the difference in achieving a professional finish.
When filling holes or smoothing out surfaces, patience is your best friend. Apply the compound in layers, allowing each to dry before adding the next. This helps prevent cracking and ensures a durable patch. Remember, thin, even coats are more effective than thick, rushed applications.
The Art of Sanding
Sanding might seem like just another step, but it’s where the real transformation happens. It’s essential for creating that smooth, polished finish.
Start with a coarser grit sandpaper to knock down major imperfections, then gradually move to a finer grit for a sleek surface. Be gentle, though. Sand too hard, and you risk exposing or damaging the wall underneath. With patience and precision, your wall will soon look brand new.
Patching Small Holes
Small holes, from tiny nail punctures or picture frame hangers, are common yet simple to fix. With a few steps, you can make them disappear entirely.
- Clean the Area: Begin by lightly scraping away loose fragments and dust. A smooth starting point is crucial.
- Apply Compound: Use a putty knife to apply a thin layer of joint compound over the hole.
- Embed Tape: Dab a small piece of drywall tape over the compound for added strength.
- Reapply Compound: Cover the tape with more joint compound, leveling it with the wall.
- Sand After Drying: Once dry, sand the area to blend seamlessly with the surrounding wall.
Dealing with Cracks
Cracks can be tricky, especially if they’re the result of structural issues. However, for cosmetic cracks, a careful approach yields great results.
Begin by widening the crack slightly with a utility knife. This creates a groove for the compound to settle into, ensuring a more secure repair. After applying joint compound and drywall tape, let it dry before sanding. With patience, your wall will appear flawless once more.
Addressing Larger Holes
Bigger holes require a bit more creativity and effort. But don’t worry, with a little guidance, these too can be seamlessly repaired.
Cut a piece of drywall slightly larger than the hole. Bevel the edges so it fits snugly into the space. Secure it with drywall screws, then cover the edges with drywall tape and joint compound. Sand once it’s dry, and your wall will be as good as new.
Preventing Future Damage
Now that you’ve mastered the art of drywall repair, let’s talk prevention. Keeping your walls in good shape means fewer repairs down the road.
Regularly inspect for signs of water damage, as leaks often lead to significant issues. Also, educate your household about avoiding rough contact with walls. Simple habits can be powerful preventative measures, maintaining the integrity and beauty of your home.
Why Choose East Valley Handyman?
Why spend hours stressing over drywall when you can call in the pros? Here at East Valley Handyman, I pride myself on delivering quick, efficient, and high-quality repairs.
With years of experience serving Chandler, Gilbert, Mesa, Tempe, Queen Creek, and Apache Junction, I’ve developed a keen eye for detail. I don’t just fix your walls—I transform them, restoring the comfort and aesthetics of your home.
Get Expert Help
Some jobs are best left to the experts. If you’re facing stubborn drywall issues or just prefer the convenience of professional help, I’m here to assist.
When you’re ready to enjoy flawless walls without the hassle, contact East Valley Handyman. Reach out today by phone at 480-500-6935 or Request a Free Quote.


