If you’re a homeowner in Chandler, AZ staring at a dent, crack, or a suspiciously spreading stain on your wall, you’re not alone. Small damage can feel like a small problem — until humidity, heat, or a curious kid makes it worse. You know what? **Drywall repair** is one of those jobs that looks simple until it isn’t. This piece is for you: the person who wants their home to look right, who cares about resale value, and who’d rather avoid sanding dust in every room for a week.
Why DIY drywall sometimes makes things worse (and why that’s okay)
Here’s the thing: a patch can be invisible, or it can scream “I fixed this myself” from across the room. You might watch a five-minute YouTube clip and think, “I got this.” And you might. For a tiny nail hole, sure. But for sagging seams, water-damaged panels, or texture matching? Not so much. Chandler’s monsoon season and summer heat make drywall behave oddly — it swells, dries, and then cracks again. So what seemed to be a one-off becomes repeat work.
Honestly, there’s a comfort in trying to save money. But consider this: a bad repair draws the eye every time you walk into a room. It’s distracting. It lowers perceived value. It nags at you. That’s why many homeowners call a pro—so they can stop noticing the wall and start enjoying their space again.
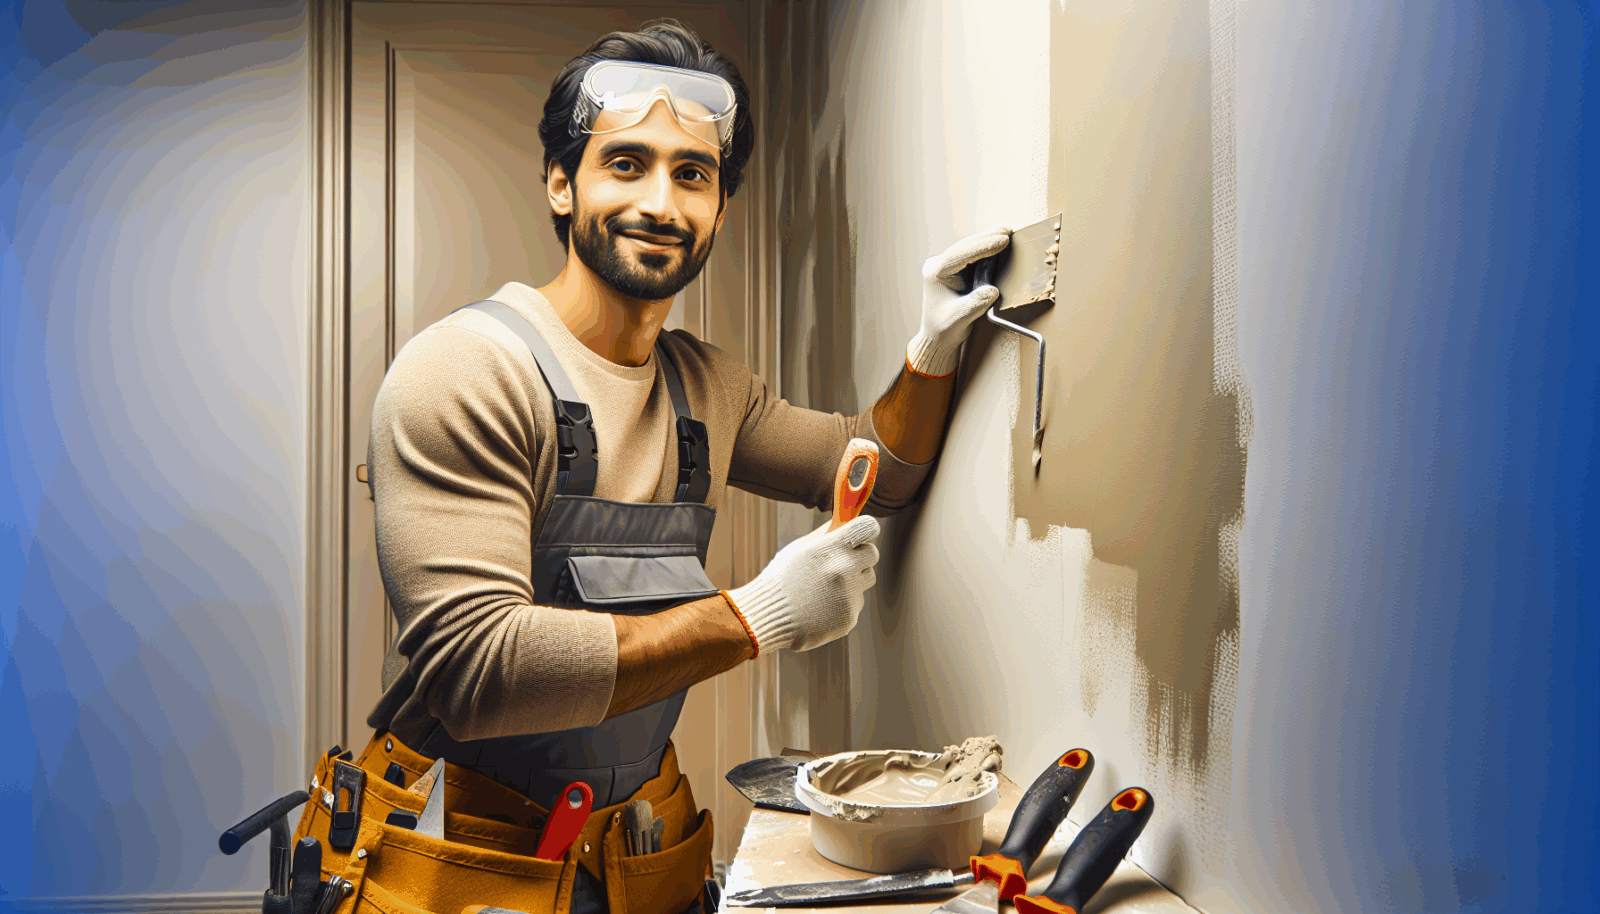
What a professional handyman brings to the job (more than just a putty knife)
There’s more than elbow grease involved. A pro brings training, the right sequence of steps, and tools you’d rather not buy unless you’re planning a second career. Let me explain: a handyman inspects the damage (is it surface-only? behind it?), identifies root causes (moisture, movement, fastener issues), and then fixes it so it stays fixed.
Tools, brands, and trade jargon — because it matters
You’ll see names like Milwaukee and DeWalt on the truck, USG Sheetrock panels in the back, 3M tape and DAP compound in the kit, and sanding sponges that actually trap dust. Pros use a hawk and taping knives for feathered edges, a coat-by-coat approach with setting-type mud and finishing compounds, and a HEPA vac during sanding so your floors don’t become a plaster snowfield.
The process — quick, predictable, and not glamorous
Here’s the usual sequence (and yes, it sounds boring because it is—boring in the best way):
- Assessment: Check for moisture, hairline vs structural crack, and any underlying damage.
- Removal: Cut away compromised drywall; you’d be surprised how often rot hides behind paint.
- Backing and taping: Use backing where necessary; apply paper or mesh tape correctly.
- Multiple coats of mud: Build up, feather, sand between coats—patience matters.
- Texture match and paint prep: Match the existing texture (knockdown, orange peel, smooth), prime, then paint.
It’s slower than the “patch-it-and-go” route but faster in the long run because you don’t redo it next month. That’s the small contradiction: the right fix takes longer now but saves time later. Makes sense, right?
Cost vs. value — don’t just count dollars
Let’s be candid: hiring a pro costs more upfront than a trip to the hardware store. But cost isn’t only dollars—there’s time, mess, stress, and the resale impact. A shoddy DIY patch can reduce buyer confidence, while a clean, professional repair quietly suggests the rest of the house is well cared for.
| Task | DIY | Professional Handyman |
|---|---|---|
| Small nail hole | Cheap, quick, usually fine | Same result, less sanding dust |
| Water or structural damage | Risky; often temporary fix | Thorough inspection and durable repair |
| Texture and paint match | Hard to match; noticeable | Blends seamlessly; guaranteed touch-ups |
Quick homeowner fixes that actually help
You don’t have to do nothing. Small, smart actions can stop problems from getting worse before the pro arrives:
- Caulk the edges: Seal gaps around trim and baseboards to keep humidity and dust at bay.
- Address nail pops: Countersink the nail, use a quality drywall screw, and finish with a small patch and paint.
- Control moisture: Run your AC or a dehumidifier during monsoon season to limit swelling and mold growth.
- Use a patch kit for tiny holes: Quick and clean for a single small screw or picture-hanger hole.
But remember: these are band-aids. For anything beyond a dime-sized hole, a pro is your best bet.
Local quirks that matter — Chandler specifics
Because you’re in Chandler, there are local things to keep in mind. Summer heat can dry out joints quickly, causing shrinkage cracks; the monsoon brings sudden humidity spikes that expand drywall; and older homes might have stucco transitions or different insulation that change wall behavior. Also, if a leak caused the damage, the source needs fixing—roof flashing, a leaking window, or a faulty pipe—otherwise the repair is only cosmetic.
We sometimes see repairs where homeowners matched the paint but missed the moisture source. So the fix looked fine for a week and then the stain came back. That’s what inspections are for.
How East Valley Handyman approaches drywall—practical, honest, and tidy
At **East Valley Handyman**, we start with a simple promise: we’ll tell you what needs to be done and why. No upsell theater. We use quality materials (think USG Sheetrock, 3M tapes, top-shelf setting compounds), industrial-grade tools, and dust-control methods so the rest of your home doesn’t become a chalk mine.
We also offer small guarantees on our repairs, so if something reappears because we missed an underlying cause, we come back and fix it. That’s peace of mind. You can focus on arranging furniture, not touching up paint swatches six times.
Ready to stop staring at that hole and get back to living?
If you want a clean, lasting repair that doesn’t shout “DIY,” call **East Valley Handyman** in **Chandler, AZ**. We’re practical, tidy, and honest—exactly what you want when someone’s working in your home. Call us at 480-500-6935 or Request a Free Quote today. Let’s get your wall looking right again—no fuss, no dust in places it shouldn’t be.