Before cosmetic repairs: Ongoing leaks, movement, sagging, suspected mold and structural damage need specialist evaluation. Identify and resolve the cause before patching or painting. This guide does not make structural repairs or major trade work part of a handyman quote.
When it comes to home maintenance, drywall repair might not be at the top of your mind, but it’s certainly something that can freshen up your home in no time.
The Importance of Addressing Drywall Damage Early
Drywall damage, whether it’s from moving furniture, door knobs, or general wear and tear, can seem minor but it’s important not to ignore it. When these issues are addressed promptly, it can prevent larger problems down the line such as structural weaknesses or even mold growth behind your walls. Being proactive about drywall repair isn’t just about aesthetics; it’s also about maintaining the integrity and health of your home.
The Tools You’ll Need for a DIY Approach
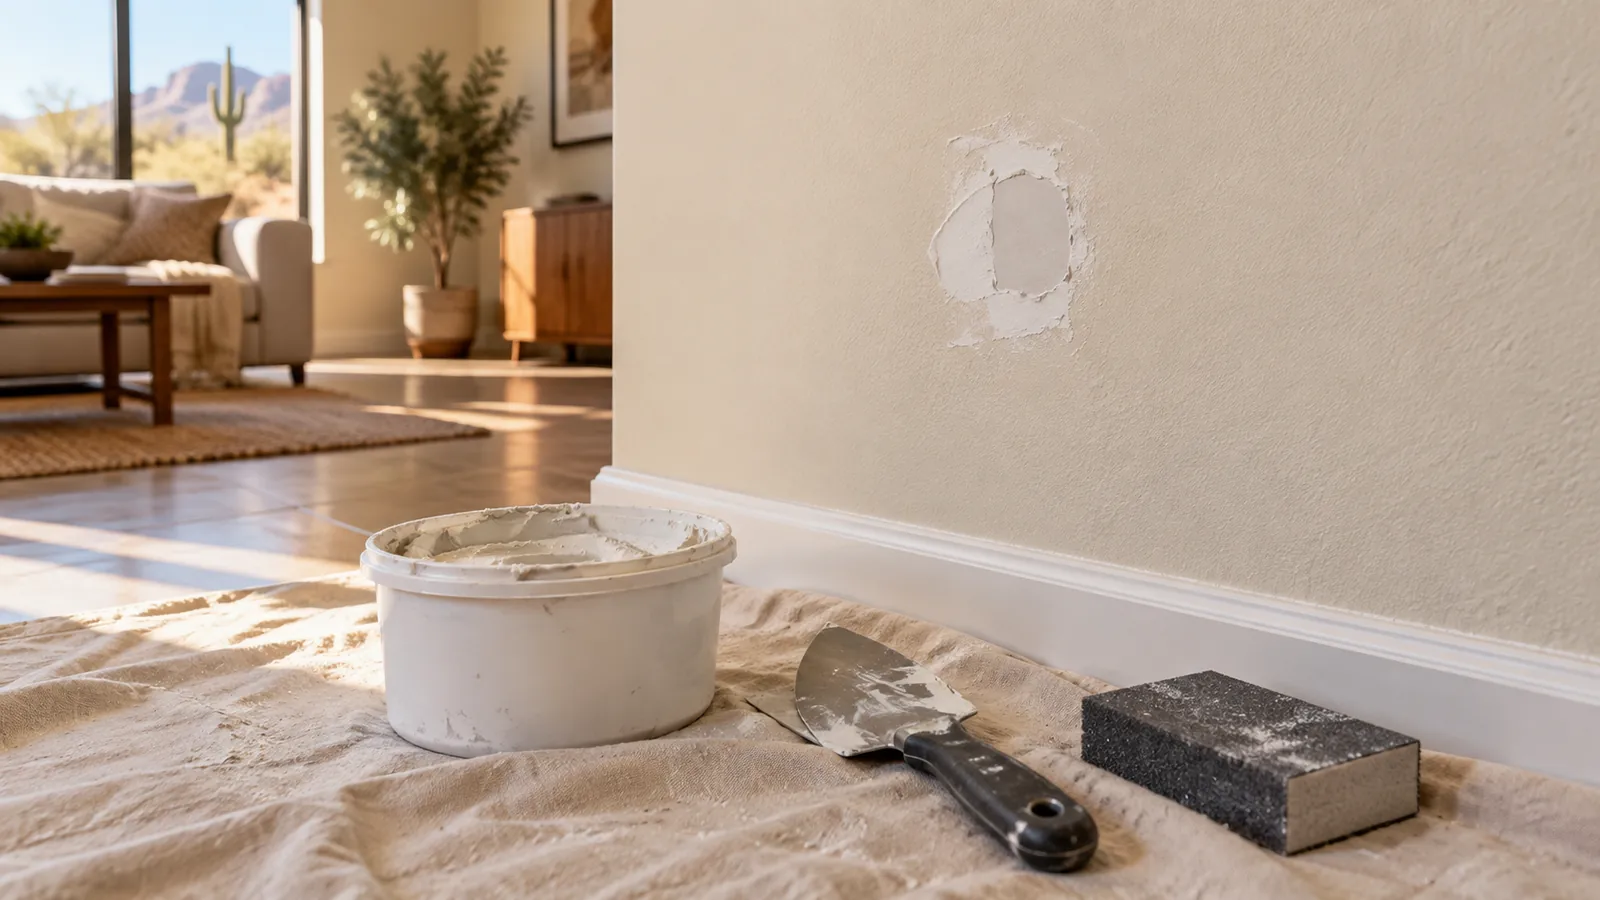
If you’re feeling handy and want to tackle small drywall repairs yourself, there are a few tools and materials you’ll need to have on hand. These include:
- Spackle or joint compound: Essential for filling in holes and cracks.
- Putty knife: Used to apply and smooth spackle or compound.
- Sandpaper: For smoothing the repair area before painting.
- Paint and primer: To match the repair area with the rest of the wall.
- Drywall patch or mesh: Needed for larger holes that can’t be filled with compound alone.
Remember, having the right tools is the first step towards a successful repair.
Step-by-Step Guide to Basic Drywall Repair
Even if you’ve never repaired drywall before, you can handle minor damage by following these simple steps:
- Prepare the Area: Clean the surface around the hole or crack, ensuring it’s dry and free from debris.
- Apply Spackle or Joint Compound: Fill the damage with your chosen material using a putty knife, then smooth it out.
- Let it Dry: Allow the compound to fully dry – this may take several hours.
- Sand the Area: Once dry, lightly sand the surface until it’s smooth and level with the wall.
- Prime and Paint: Apply primer to the repaired surface, then once that’s dry, paint over it to match your wall.
For those larger holes, applying a drywall patch or mesh may be necessary before you spackle, to ensure the compound has something to adhere to.
When to Call a Professional for Drywall Repair
While many drywall repairs can be handled DIY, there are times when it’s best to call in a professional. Bringing in a professional ensures that the texture and paint match the rest of your wall, making the repair virtually invisible.
Preventive Measures to Keep Your Drywall Intact
Preventing drywall damage is just as important as knowing how to fix it. Here are a few preventive measures you can take:
- Install door stoppers: To prevent doorknob holes.
- Handle moves carefully: Be mindful when moving furniture or other large items.
- Maintain humidity levels: Use dehumidifiers in damp areas to prevent moisture damage.
- Conduct regular inspections: Catching and fixing small issues early can prevent larger repairs.
These simple steps can keep your walls looking their best and save you both time and money in the long run.
Review the scope before hiring
Drywall repair may seem daunting, but with the right tools, a bit of patience, and a touch of elbow grease, it’s certainly manageable.
Ready to Restore Your Walls? Get in Touch!
Let’s turn those holes back to whole, effortlessly.
Discuss a suitable repair
East Valley Handyman handles practical repair, mounting, assembly, patching and finish projects in Chandler and the East Valley. Send the project details so the scope can be reviewed before scheduling. Major trade work, structural repairs and permit-dependent projects need the appropriate licensed specialist.
Need a hand with a project?
Tell us what needs attention, where the work is and what you have in mind. We serve Chandler and the surrounding East Valley.
Request a free quote →