Before cosmetic repairs: Ongoing leaks, movement, sagging, suspected mold and structural damage need specialist evaluation. Identify and resolve the cause before patching or painting. This guide does not make structural repairs or major trade work part of a handyman quote.
Drywall is a ubiquitous feature in most homes, providing a smooth, clean finish to walls and ceilings. However, accidents happen, and over time, wear and tear can lead to unsightly holes, cracks, or dents in your drywall. The good news is that with the right techniques, drywall repair can be a manageable DIY project.
1. Gather Your Materials
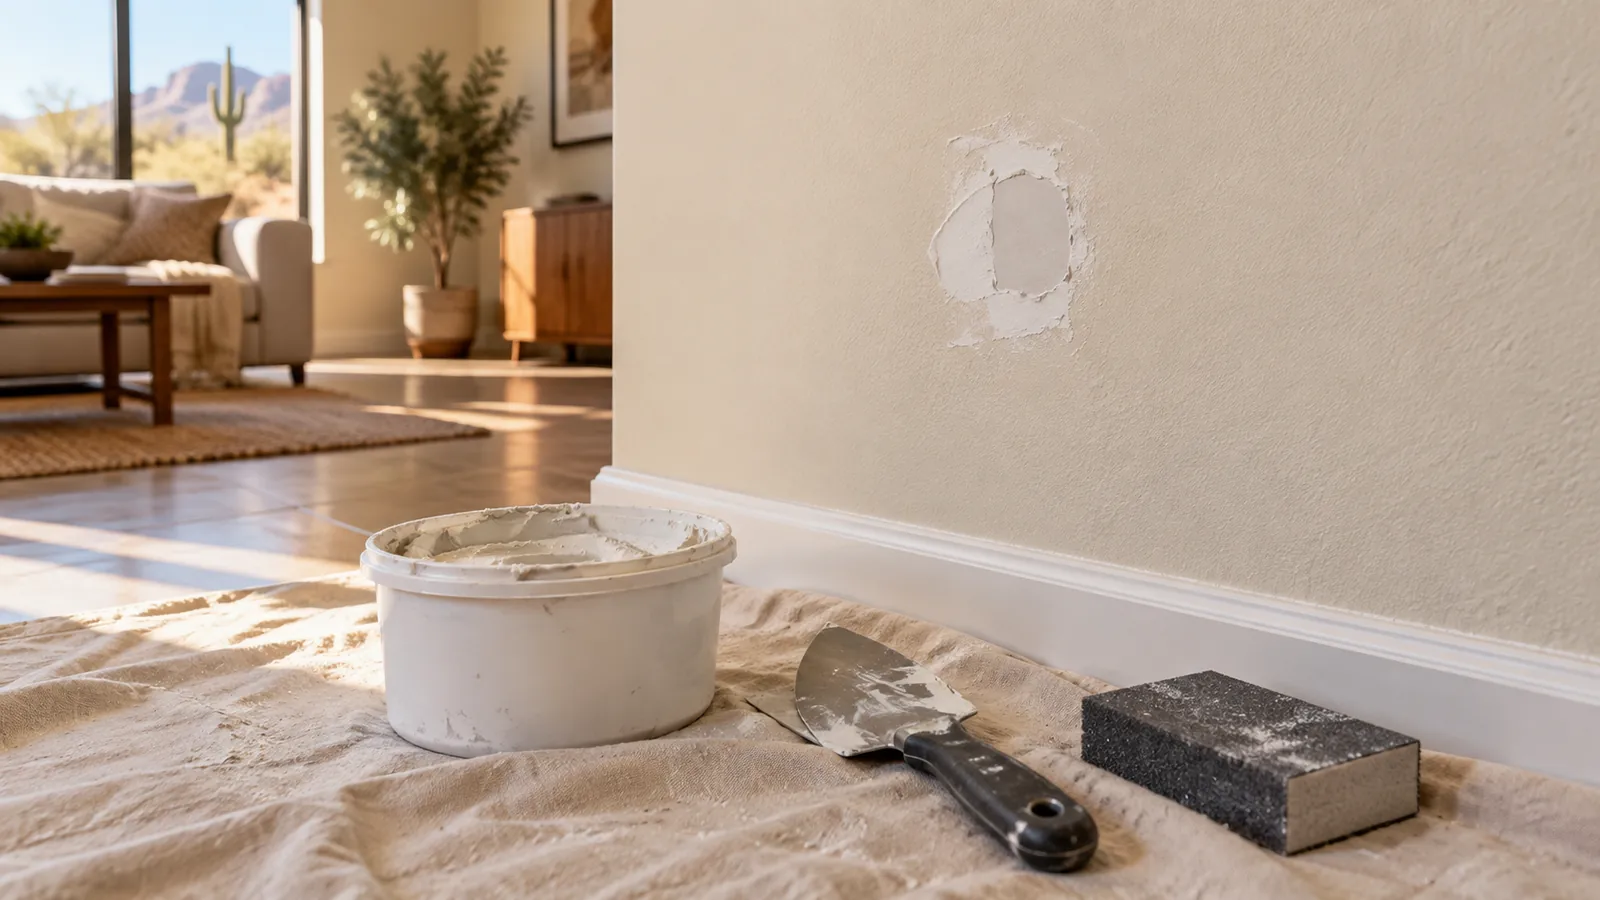
Handyman Tip: “Before you start, gather the necessary materials: drywall compound, a putty knife, sandpaper, mesh tape (for larger holes), a utility knife, and a sanding block.”
Having the right tools and materials on hand ensures a smooth repair process.
2. Patching Small Holes
Handyman Tip: “For small holes, like nail holes or dents, start by cleaning the area and filling it with a layer of drywall compound. Smooth it out with a putty knife, let it dry, and sand it until it’s flush with the wall.”
Small holes are relatively easy to repair and often require only one layer of drywall compound.
3. Fixing Larger Holes
Handyman Tip: “For larger holes, clean and prepare the area, then apply a piece of mesh tape over the hole. Spread a layer of drywall compound over the tape, feathering the edges for a smooth finish. Allow it to dry and sand it as needed.”
Mesh tape provides reinforcement for larger holes, ensuring a sturdy repair.
4. Repairing Cracks
Handyman Tip: “For cracks in the drywall, use a utility knife to widen the crack slightly. Fill it with drywall compound and smooth it out. Let it dry and sand it until it’s flush with the wall.”
Widening the crack allows the compound to adhere better and prevent future cracks.
5. Matching Texture
Handyman Tip: “To match the texture of your repaired area with the surrounding wall, you can use a texture spray or a sponge to create a similar pattern. Practice on scrap drywall first to achieve the desired effect.”
Texture matching is essential for a seamless repair that blends in with the rest of the wall.
6. Priming and Painting
Handyman Tip: “Once your repair is complete and the drywall compound is fully dry and smooth, prime the patched area to seal it. After priming, you can paint over it to match the surrounding wall.”
Priming and painting provide the final touches to make your repair virtually invisible.
7. Safety First
Handyman Tip: “Always wear safety gear, including safety glasses and a dust mask, when sanding drywall. Dust from sanding can be irritating to your eyes and respiratory system.”
Safety should be a top priority during any DIY project, including drywall repair.
Conclusion: Achieve Flawless Drywall Repair
With the right techniques and a bit of patience, you can master drywall repair and maintain the beauty of your home’s interior. Whether you’re dealing with small holes, cracks, or larger damage, following these handyman tips will help you achieve flawless results.
Ready to tackle your drywall repair project? Let’s restore the beauty of your walls together!
Discuss a suitable repair
East Valley Handyman handles practical repair, mounting, assembly, patching and finish projects in Chandler and the East Valley. Send the project details so the scope can be reviewed before scheduling. Major trade work, structural repairs and permit-dependent projects need the appropriate licensed specialist.
Need a hand with a project?
Tell us what needs attention, where the work is and what you have in mind. We serve Chandler and the surrounding East Valley.
Request a free quote →