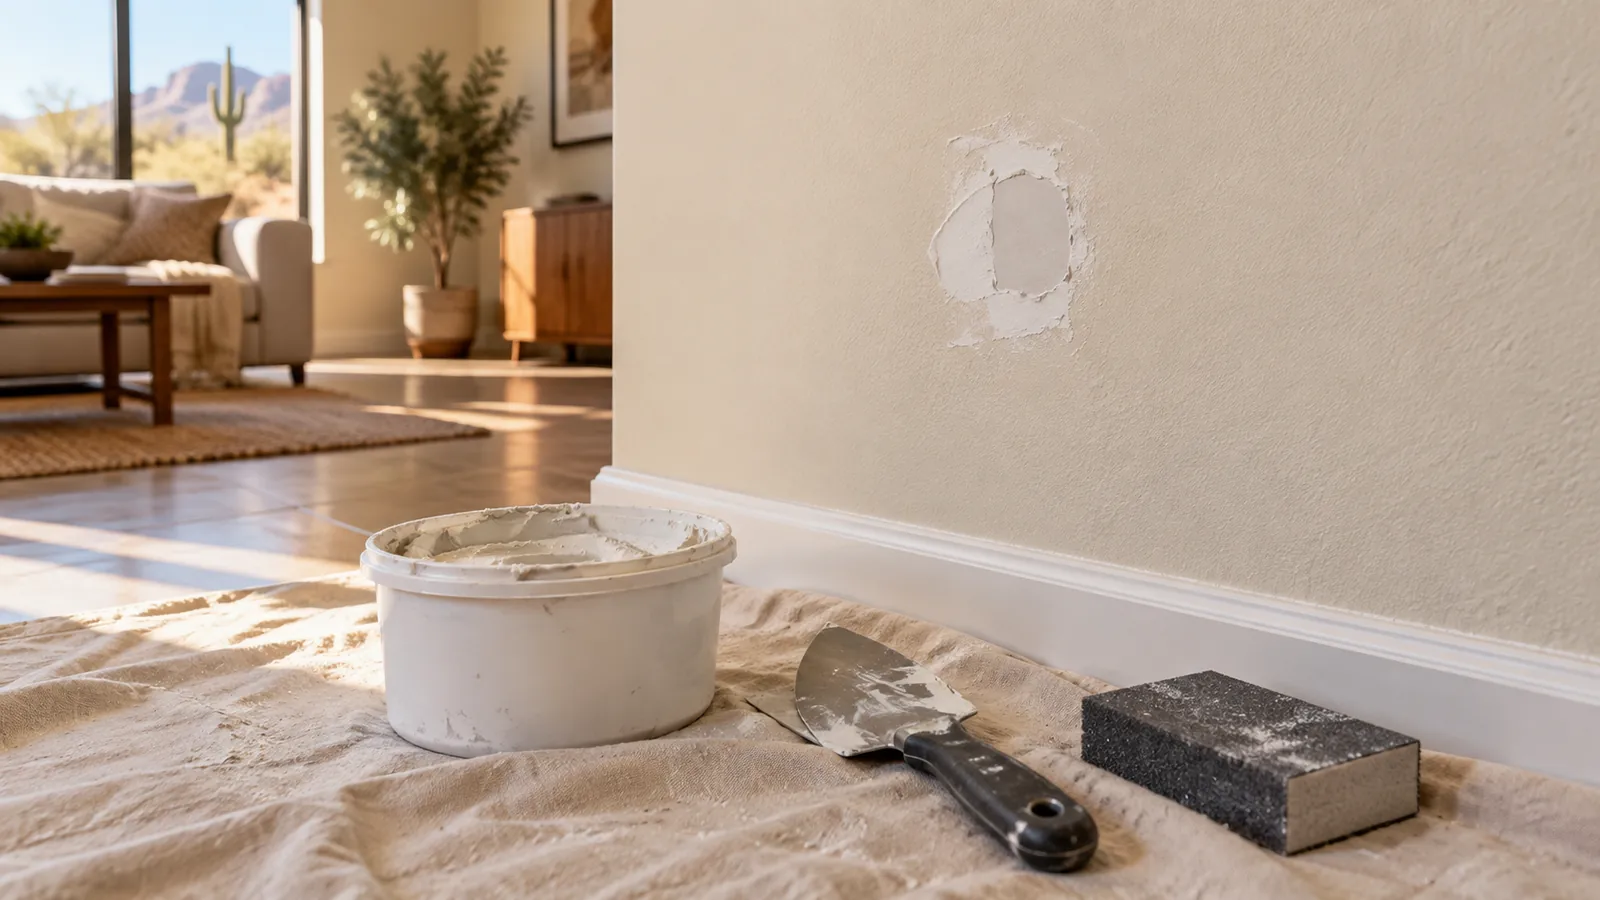
Before cosmetic repairs: Ongoing leaks, movement, sagging, suspected mold and structural damage need specialist evaluation. Identify and resolve the cause before patching or painting. This guide does not make structural repairs or major trade work part of a handyman quote.
You walk past it every single day, that glaring, jagged hole in the hallway where a doorknob decided to pick a fight with the wall. It is incredibly annoying, isn’t it? Honestly, patching drywall sounds simple enough until you are staring at a patchy, lumpy mess that actually looks worse than the original dent.
Why Chandler Walls Take a Beating
This non-stop shifting naturally creates hairline cracks around windows, archways, and doorframes. When it rains, the ground swells; when it dries out, it shrinks. Your foundation subtly moves with it, and your rigid walls simply crack under the pressure.
Add kids, pets, or moving-day mishaps into the mix, and you’ve got a perfect recipe for damaged sheetrock. One minute you are wrestling a heavy new couch through the front door, and the next, crack . You have a massive gouge right in the middle of your otherwise pristine living room wall.
It is always tempting to just slap some generic spackle on it, sand it down roughly, and call it a day. But here’s the thing. Not all wall damage is created equal. A tiny nail hole left behind from a picture frame takes just two minutes to fix. A baseball-sized hole from a stray toy? That requires a completely different approach.
The Pro’s Toolkit: More Than Just Paste
If you wander down the paint aisle at the local hardware store, you will inevitably see dozens of little plastic tubs promising a fast, permanent fix. But a real drywall repair job, the kind that makes the damage completely disappear, relies on specific tools and professional-grade materials.
- The right mud matters immensely. Regular lightweight spackle just shrinks and cracks when you try to fill anything larger than a dime.
- Tape is your best friend. Fibreglass mesh tape or traditional paper tape physically bridges the gap over a hole or seam. Without quality tape, that exact same crack is going to show right back up the next time the temperature unexpectedly drops.
- Quality knives make the difference. Spreading mud with a cheap, rigid plastic putty knife leaves awful ridges everywhere.
Feathering is just a trade term for spreading the joint compound incredibly thin at the outer edges of the repair. You want the new mud to blend so seamlessly into the old wall that you absolutely cannot feel the transition when you run your hand over it. Spreading mud is a lot like frosting a cake, honestly. If the cake is lumpy, the frosting looks terrible.
If you run your hand across a finished patch and feel a noticeable bump, it is going to cast a long, ugly shadow under your living room lamps at night. Nobody wants that.
The Texture Trap: Orange Peel and Knockdown Headaches
Here is exactly where most DIY drywall repairs go horribly wrong. You spend hours getting the wall perfectly flat. It feels as smooth as glass. Then you paint it, step back to admire your work, and suddenly realize your wall has texture everywhere except the exact spot you just fixed. It stands out like a sore thumb, right?
Chandler homes built over the last few decades are notorious for specific wall finishes. Most modern houses around the East Valley feature a medium knockdown texture or a subtle orange peel finish. Matching this existing texture is honestly much more of an art than a science.
You can buy those aerosol texture spray cans at the store, but they are incredibly finicky. If the can is a little too cold, it spits out big chunky blobs. If you spray too close to the wall, it puddles and runs. Sometimes that means using a pneumatic hopper gun for large areas; other times, it involves a simple natural sea sponge and a very light hand.
The secret is adjusting the pressure, the nozzle size, and the thickness of the mud to match the exact splatter pattern of your existing wall. It takes practice. Actually, it takes a lot of practice to get it right.
And you cannot forget the primer. Once the new texture is completely dry, you absolutely must apply a good primer before painting. Drywall mud is highly porous. If you just roll standard interior paint directly over a raw patch, the mud sucks the moisture right out of the paint.
Sizing Up the Damage: From Dents to Disasters
It all comes down to the size, depth, and underlying cause of the damage. Professional handymen mentally categorize repairs the moment they look at a wall to figure out exactly what materials to pull from the truck.
| Damage Type | Typical Cause | The Handyman’s Fix |
|---|---|---|
| Small Punctures | Nails, screws, thumbtacks | High-quality vinyl spackle and a quick, light sanding. |
| Medium Holes | Doorknobs, stray toys | Mesh tape, multiple thin coats of joint compound, and expert feathering. |
| Large Gouges | Moving furniture, Plumbing repairs | A “California patch” or backing wood combined with a fresh drywall scrap. |
When dealing with those intimidating large holes, a “California patch” is an old trade trick that works wonders. It creates a surprisingly strong, incredibly flush repair that requires way less mud than a standard patch.
But wait, what if the drywall is soft, stained, or crumbly to the touch? That usually points directly to hidden water damage. Maybe an old roof leak from last year’s monsoon season finally soaked completely through the ceiling. In that severe case, no amount of fresh mud will save it. You have to decisively cut out the rotten material entirely, fix the actual source of the moisture, and hang brand-new sheetrock.
Speaking of hanging new sheetrock, location matters too. Fire safety codes require 5/8-inch Type X fire-rated drywall for that specific boundary. Knowing these minor, easily overlooked details is what separates a proper repair from a temporary bandage.
Why Skip the DIY Frustration?
There are hundreds of fast-paced video tutorials out there making fixing drywall holes look like an absolute breeze. The guy on the screen confidently swipes his knife once, and boom, a perfectly flat wall.
But let’s be real for a second. That guy has been holding a drywall knife every single day for twenty years. When a homeowner attempts it, they usually end up applying three or four heavy coats of mud. Then, they have to sand it aggressively until the entire house is covered in a fine layer of white powder. And somehow, the patch still looks undeniably lumpy.
That miserable drywall dust gets sucked right into your AC vents. It settles on your dark kitchen counters, coats your electronics, and honestly drives you crazy for weeks. Even worse, if you try to vacuum it up with your standard household vacuum, the ultra-fine dust can easily blow out the motor.
Hiring a reliable professional saves you the mess, the multiple trips to the hardware store, and the lingering stress.
You don’t have to spend $80 on a hopper gun, heavy tubs of joint compound, and various steel knives for a single, stubborn hole in the hallway. You get to reclaim your hard-earned weekend, and your walls look totally immaculate. Isn’t your free time worth significantly more than fighting with a drying tub of drywall mud on a Saturday afternoon?
Let’s Get Your Home Back to Normal
Living with obvious wall damage is just a constant, annoying reminder of an unfinished chore hanging over your head. But you do not have to look at it anymore.
Stop letting that damaged wall drive you crazy every time you walk past it. Or, if it is easier for your schedule, you can quickly Request a Free Quote right now to get things started. Let’s get those walls looking brand new again!
Discuss a suitable repair
East Valley Handyman handles practical repair, mounting, assembly, patching and finish projects in Chandler and the East Valley. Send the project details so the scope can be reviewed before scheduling. Major trade work, structural repairs and permit-dependent projects need the appropriate licensed specialist.
Need a hand with a project?
Tell us what needs attention, where the work is and what you have in mind. We serve Chandler and the surrounding East Valley.
Request a free quote →