Living in Chandler means you have a complicated relationship with the thermostat. When the summer temps start creeping up past triple digits, you realize pretty quickly that a ceiling fan isn’t just a nice decoration—it’s a survival tool. But installing one? That can feel a little intimidating if you’ve never stared at a jumble of electrical wires while balancing on a ladder.
Why Your Ceiling Fan Actually Matters (It’s Not Just Air)
You know what? Most people misunderstand what a ceiling fan actually does. Here’s the thing: fans don’t cool rooms; they cool people. It’s all about the wind-chill effect. If you leave a fan running in an empty room, the temperature on the thermometer isn’t going to drop a single degree. In fact, the heat from the motor might even raise it a tiny bit.
But when you are in the room, that moving air helps evaporate perspiration on your skin, making you feel about 4 to 6 degrees cooler. That’s a huge difference when you’re trying to sleep through a warm Arizona night. It allows you to bump the thermostat up a few degrees, which keeps your utility bills from looking like a mortgage payment.
However, this only works if the fan is installed correctly. I’ve walked into plenty of homes in the East Valley where the fan is wobbling like a washing machine with a brick inside, or worse, it’s just too small for the room. A tiny fan in a big living room is like trying to cool a swimming pool with a single ice cube—it just doesn’t work.
Choosing the Right Fan: Size and Style
Before we even talk about wire nuts and screwdrivers, we have to talk about selection. You can’t just grab the prettiest box off the shelf at the hardware store. Well, you can, but you probably shouldn’t.
Size dictates performance. If you install a fan that’s too small, you won’t feel the breeze. If it’s too big, it’ll look overwhelming and might even create a wind tunnel effect that blows papers off your desk.
Here is a quick breakdown of ceiling fan sizing based on square footage:
| Room Size (Sq. Ft.) | Recommended Fan Size | Example Room Type |
|---|---|---|
| Up to 75 sq. ft. | 29 to 36 inches | Small bathroom, hallway |
| 76 to 144 sq. ft. | 36 to 44 inches | Guest bedroom, office |
| 144 to 225 sq. ft. | 44 to 50 inches | Master bedroom, dining room |
| 225 to 400 sq. ft. | 50 to 54 inches | Large living room, master suite |
| Over 400 sq. ft. | 60 inches or larger | Great room, open concept areas |
Blade Pitch matters too. This is a term you might see on the box and ignore, but don’t. Blade pitch is the angle of the blade. For optimal air movement, look for a pitch between 12 and 15 degrees. Anything flatter than 12 degrees is basically just slicing through the air without moving it effectively. It might spin fast, but it won’t move much air.
The Pre-Install Checklist: Safety First
Honestly, this is the part that scares homeowners the most. Electricity is invisible, and if you mess with it wrong, it bites. But if you respect it, it’s manageable.
The absolute first step is turning off the power. And I don’t mean just flicking the wall switch off. You need to go to your breaker panel—usually in the garage or on the side of the house here in Chandler—and flip the actual breaker.
Once you think the power is off, check it again. Use a non-contact voltage tester. It’s a little tool that looks like a pen; you touch it to the wires, and if it beeps or lights up red, the power is still on. Never trust a label in a breaker box; previous owners or electricians might have mislabeled things.
The Junction Box Dilemma
Here is the biggest potential disaster in Ceiling Fan Installation. You cannot just hang a ceiling fan from a standard plastic light box.
Standard light fixtures weigh a couple of pounds. A ceiling fan can weigh 20 to 50 pounds, plus it vibrates and exerts torque (twisting force) when it spins. If you screw a fan into a regular light box, eventually, gravity is going to win. The fan will come down, and it will take the drywall with it.
You need a fan-rated junction box. These are metal (usually) and are braced directly against the ceiling joists. If you take down your old light fixture and see a flimsy plastic box held up by one nail, you’re going to need to swap that out before you proceed. This often involves crawling into the attic, which, let’s be real, is nobody’s favorite pastime in an Arizona summer.
The Installation: A Step-by-Step Breakdown
Alright, assuming you have the right box and the power is off, here is how the magic happens. While every brand (Hunter, Hampton Bay, Honeywell) is slightly different, the anatomy is generally the same.
1. Mounting the Bracket
This metal bracket screws into your junction box. It’s the spine of the operation. Make sure this is tight. If the bracket is loose, your fan will wobble, no matter how balanced the blades are.
2. The Downrod
Most fans come with a short downrod (the metal pipe the fan hangs from). If you have standard 8-foot ceilings, the included one is fine. But if you have those beautiful vaulted ceilings common in East Valley homes, you need an extended downrod. You want the fan blades to be at least 7 feet off the floor for safety, but typically around 8 or 9 feet for optimal airflow.
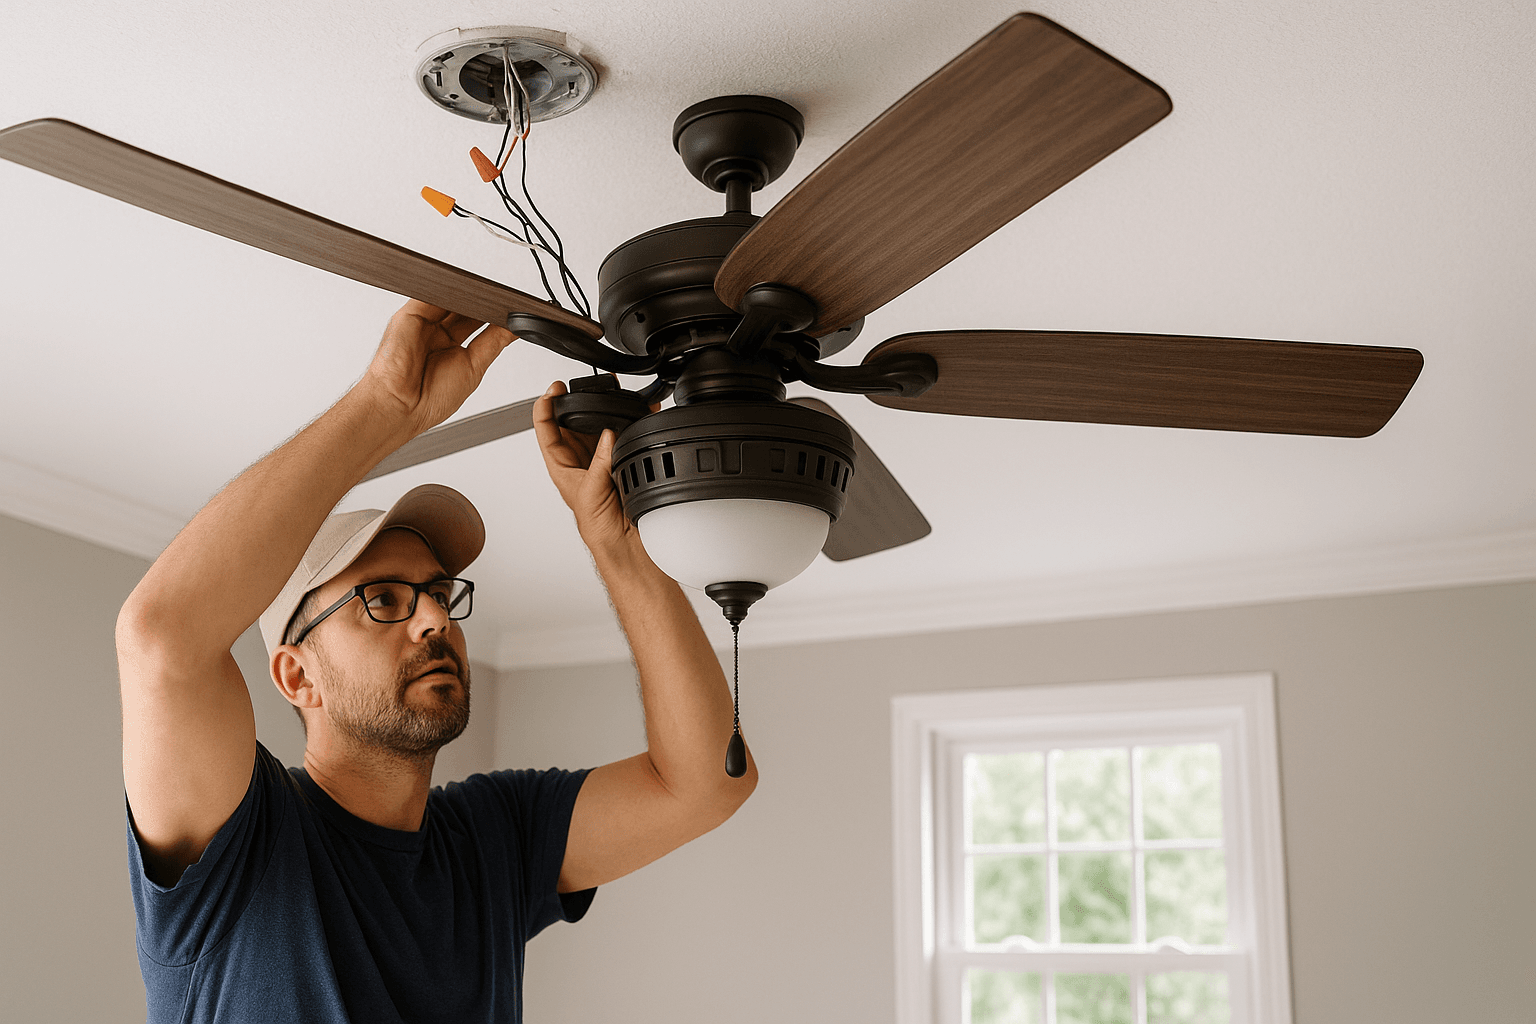
3. Hanging the Motor
Most modern fans have a hook on the mounting bracket. You lift the heavy motor assembly and hang it on that hook. This is a lifesaver because it lets you use both hands to do the wiring. Trying to hold a 30-pound motor with one hand while twisting wire nuts with the other is a recipe for a dropped fan.
4. The Wiring (The scary part)
It’s usually color-coded, but you have to pay attention.
- Green or Bare Copper: This is the Ground. It connects to the green or bare wire in your ceiling.
- White: This is Neutral. White goes to white.
- Black: This is the “Hot” wire for the fan motor.
- Blue: This is usually the “Hot” wire for the light kit.
Quick Tip: If you have two wall switches (one for the light, one for the fan), you’ll connect the house’s black wire to the fan’s black wire, and the house’s red wire to the fan’s blue wire (or vice versa, depending on how the electrician wired the switch). If you only have one switch, you tie the Black and Blue fan wires together and connect them to the black house wire.
5. Blades and Lights
Attaching the blades can be tedious. You’re standing on a ladder, screwing in screws that seem designed to slip out of your fingers and vanish into the carpet below. A magnetic screwdriver is your best friend here.
Troubleshooting: Why Does It Wobble?
You finish the job, flip the switch, and… click-whir-wobble. The fan is swaying like a boat in a storm. It’s annoying, and it looks unsafe.
Why does this happen?
Usually, it’s a balance issue. Fan blades are matched at the factory by weight, but wood density varies, and brackets can get bent during shipping. Most fans come with a balancing kit (a plastic clip and some weights). It’s a trial-and-error process. You put the clip on a blade, turn the fan on, and see if it wobbles less. If it doesn’t, you move the clip to the next blade.
Another common culprit? Loose screws. If the screws holding the blade arm to the motor aren’t torqued down tight, the blade will droop slightly, throwing the center of gravity off.
And let’s talk about the noise. If your fan is humming loudly, it might not be the fan’s fault. It could be the wall switch. If you are using an old dimmer switch designed for incandescent lights on a fan motor, it chops the electrical current in a way that makes the motor hum or buzz. You need a switch specifically rated for ceiling fans.
Outdoor Fans: The Arizona Special
Living in Chandler, we spend a lot of time on the patio. Installing a fan out there is different than in the bedroom. You absolutely must check the rating.
There are Damp Rated and Wet Rated fans.
- Damp Rated: Good for covered patios where rain won’t directly hit the fan.
- Wet Rated: Can handle direct rain and being hosed off.
If you put a regular indoor fan on your patio, the humidity and heat fluctuations will warp the blades (especially if they are composite wood) and rust the motor internals within a season or two. Plus, the blades on indoor fans will droop like a wilted flower when exposed to our monsoon moisture cycles.
Smart Fans and DC Motors
You might have noticed that fans are getting smarter. You can now get fans that connect to your Wi-Fi so you can control them with your phone or shout at Alexa to turn them on.
Beyond the tech gimmicks, look for DC Motor fans. Traditional fans use AC (Alternating Current) motors. They are reliable but heavy and use more electricity. DC (Direct Current) motors are lighter, whisper-quiet, have way more speed options (like 6 speeds instead of just High/Med/Low), and use about 70% less energy. They cost a bit more upfront, but they are worth it for a fan that runs 12 hours a day.
When to Call a Handyman
I’m all for DIY. It feels good to fix up your own house. But there are times when ceiling fan installation stops being a fun weekend project and starts being a headache—or a hazard.
High Ceilings: If your ceiling is 12 feet or higher, you need a specialized ladder and potentially scaffolding. Balancing on the very top step of a 6-foot ladder is not a risk worth taking.
No Existing Box: If you want a fan in a room that currently has no overhead light, that requires running new electrical lines through the ceiling and installing a brace. That is major surgery for a ceiling.
Old Wiring: Some older homes in the East Valley have aluminum wiring or outdated systems that don’t play nice with modern fixtures. If you open the box and the wire insulation is crumbling or the wires look scorched, stop immediately.
The “Wobble” That Won’t Quit: Sometimes, no amount of balancing weights will fix a fan. It could be a structural issue with the mounting box or a defect in the motor.
Let’s Get That Air Moving
At the end of the day, a ceiling fan is essential for surviving the desert heat comfortably. It lowers your energy bills and makes your home feel like an oasis. But it has to be hung right to work right. You don’t want to be lying in bed staring at a wobbly fan wondering if tonight is the night it falls.
If you have a fan still sitting in the box, or if you have a noisy, wobbly antique that needs replacing, you don’t have to tackle it alone. We handle the ladders, the wiring, and the balancing so you can just sit back and enjoy the breeze.
Ready to cool down?
Give East Valley Handyman a call at 480-500-6935 or simply Request a Free Quote online. We’ll get it installed safely, cleanly, and perfectly balanced.